It’s called ‘hybrid’ because it combines the staining power of a tint with the bespoke shaping of HD Brows to create fuller-looking arches. The treatment takes about 30 minutes, but don’t forget to book a separate patch test beforehand!
My brow technician, Neha, was a dream. We started with a consultation, and she indulged me as I shared my brow journey and what I hoped for them (complete with inspiration photos, of course). She made some observations, including saying that I have ‘great brows’ (a first for me!) and pointed out some sparse areas we could improve. Here’s how the entire process worked.
Step one: Brow mapping. Using a piece of thread, Neha showed me where the front, arch and tail should ideally sit. We agreed on a cool-toned black-brown tint and opted for a straight brow to match my reference photos.
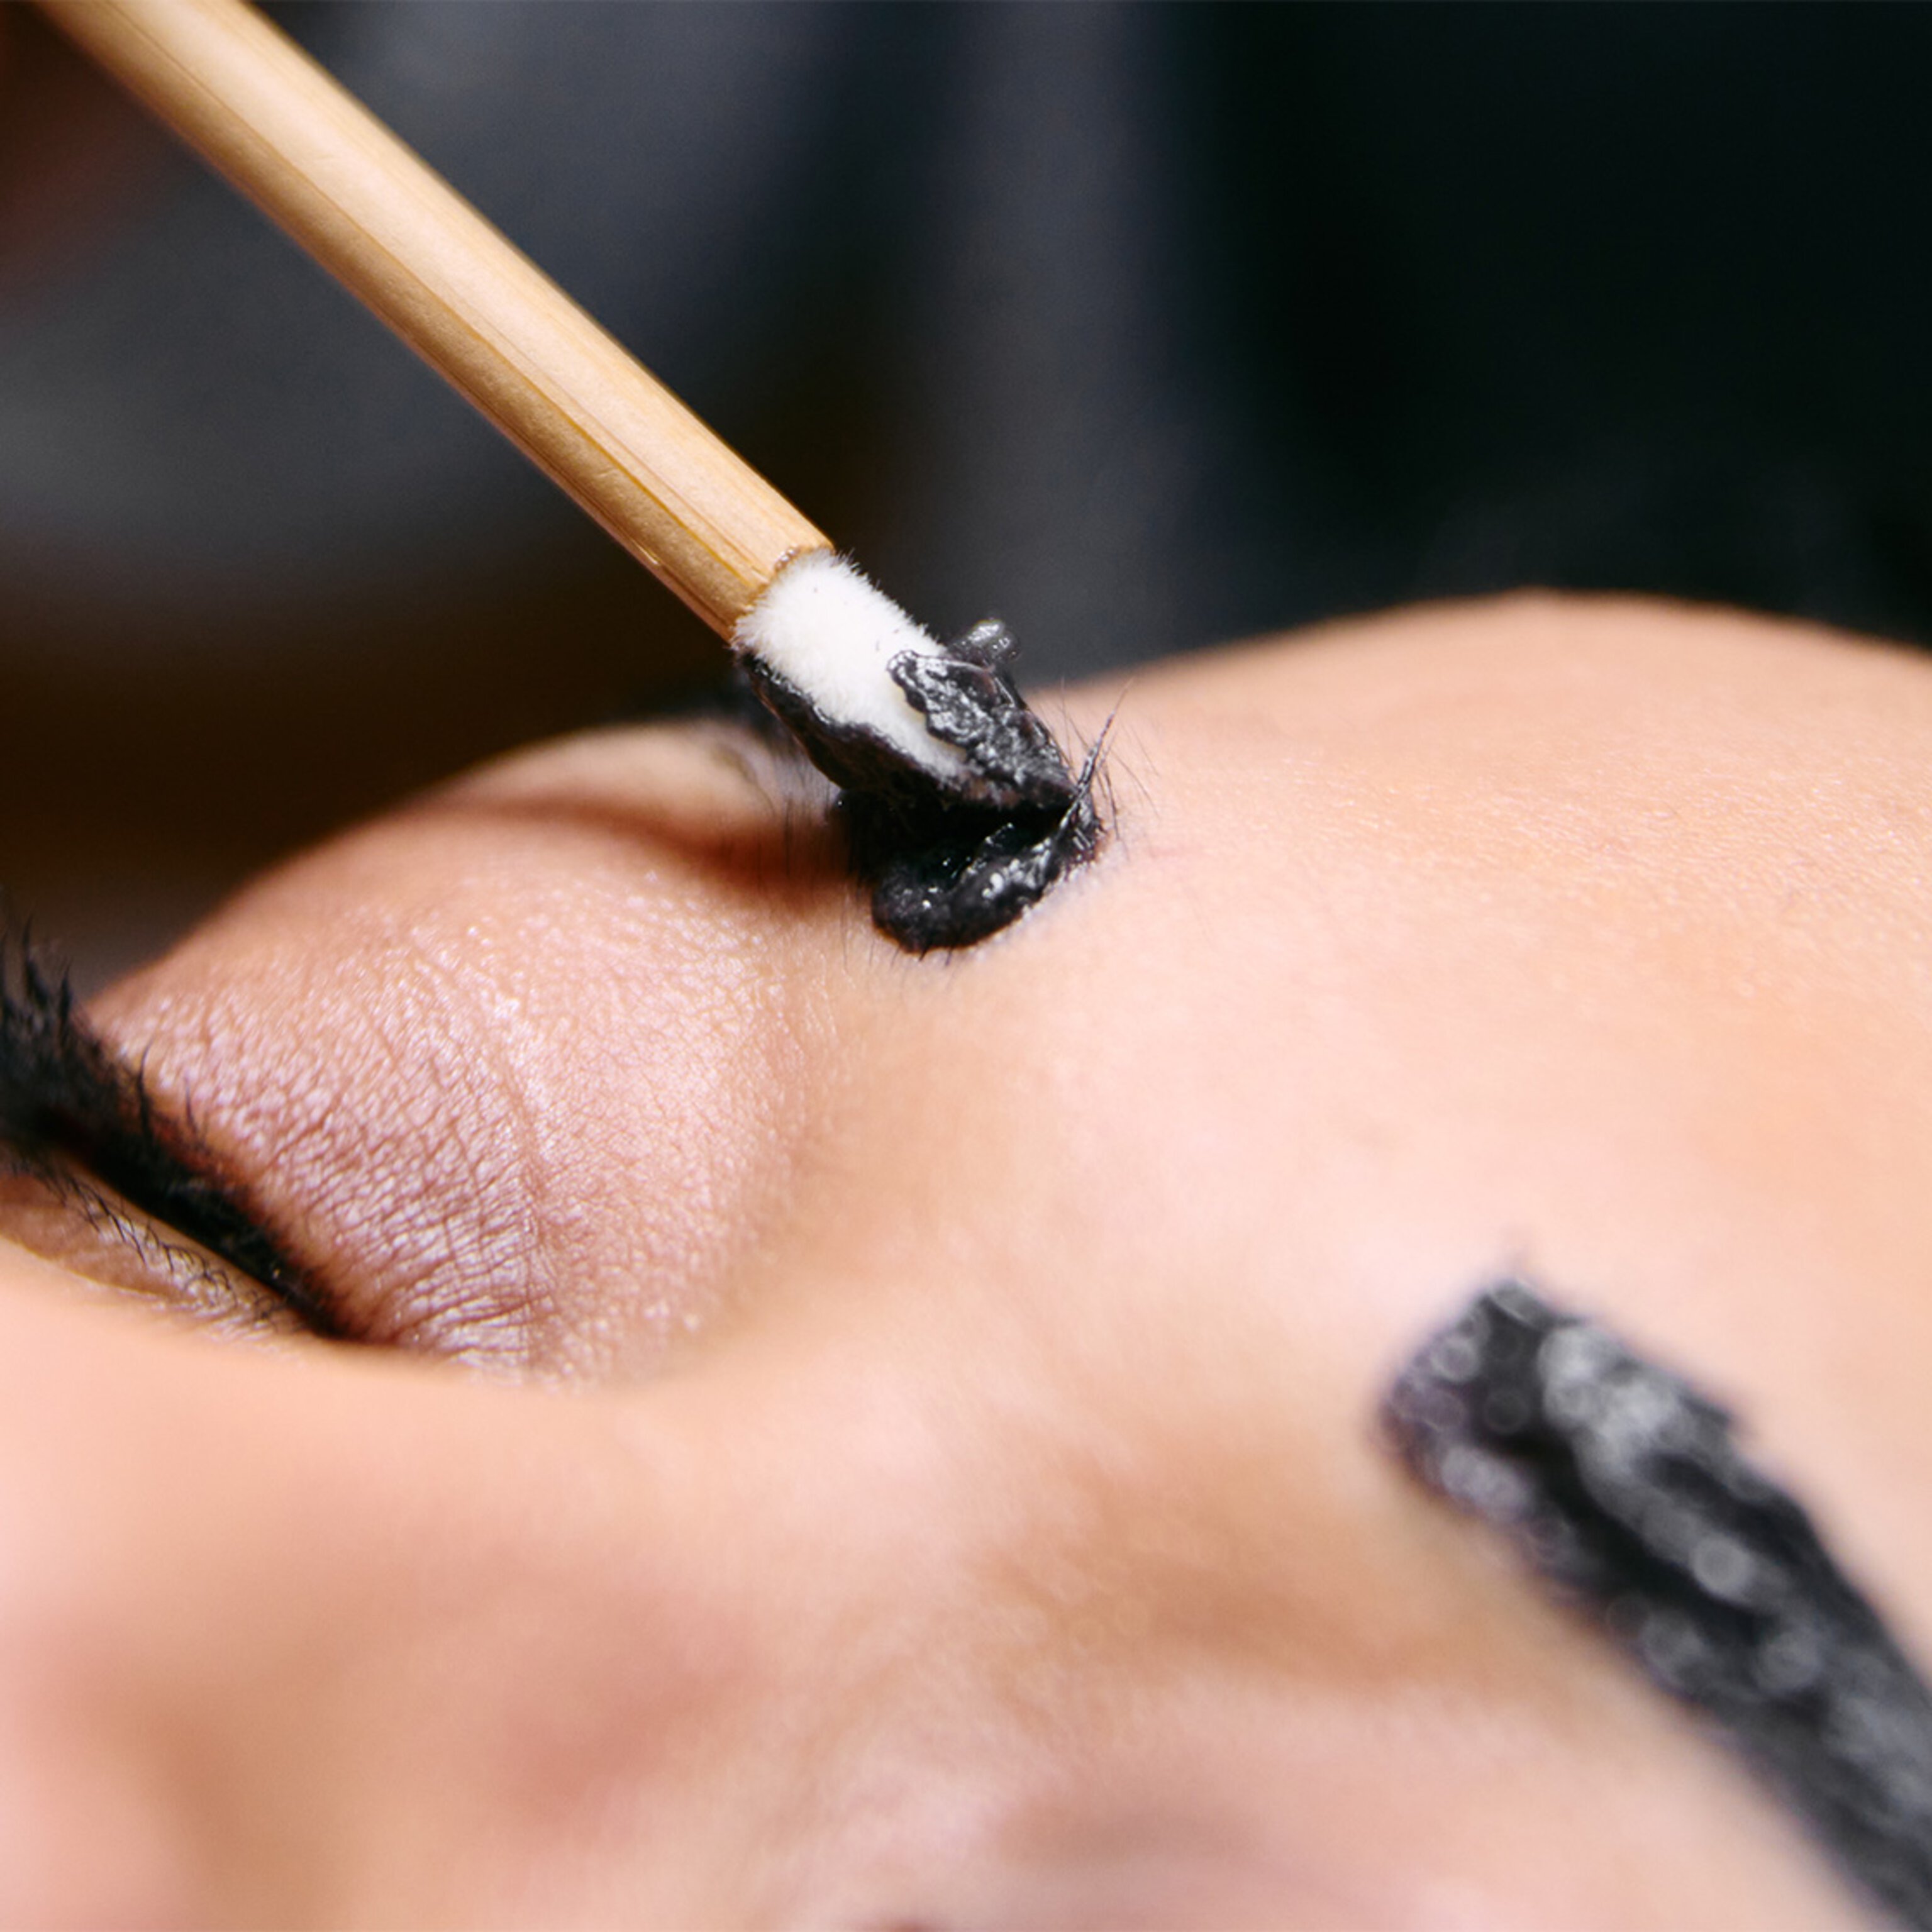
Step two: Tint time. When Neha applied the dark, thick formula, I won’t lie – I was alarmed. But trust the process. After a few minutes, she wiped it away, and I breathed a sigh of relief at how natural they looked. Then we reassessed and reapplied the tint mostly to the middle and end for extra depth, creating a subtle ombré effect.
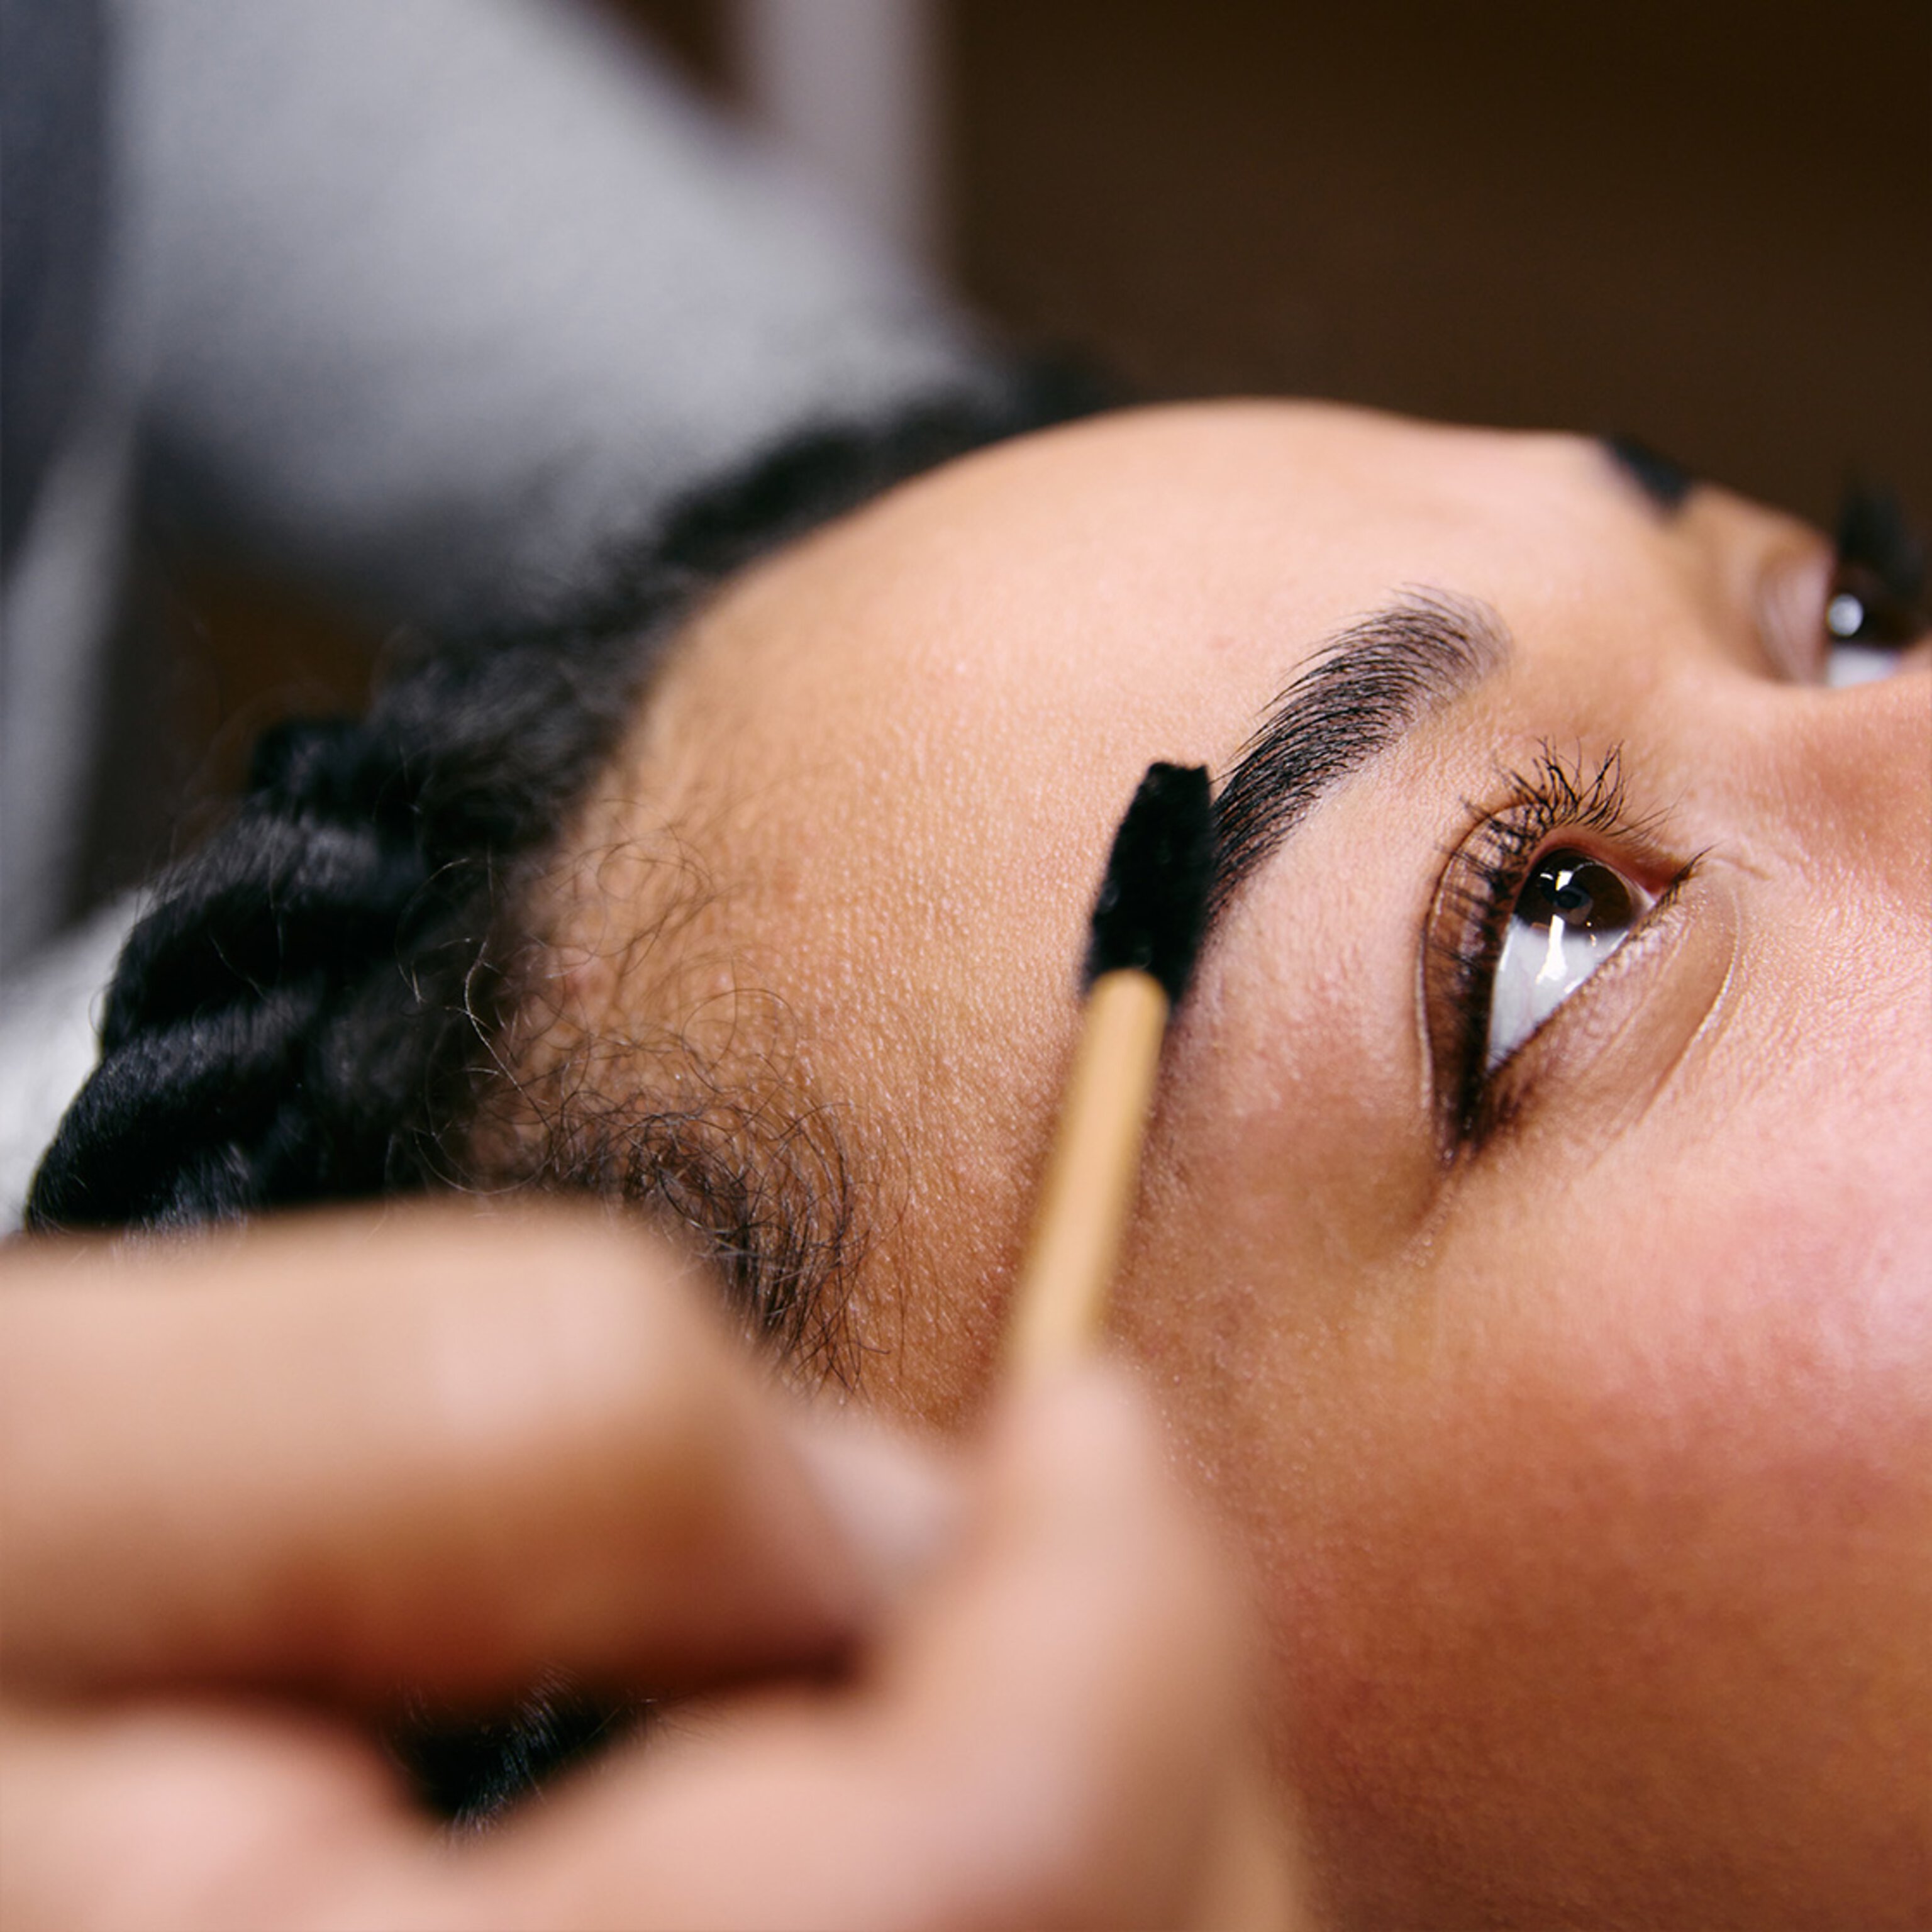
Step three: Shaping. I chose threading over waxing – purely because I’ve done it before and it feels cleaner and sharper to me. This final step pulled everything together, adding definition and structure. Neha finished with a touch of eyebrow make-up, using a light, flesh-toned shade under my brows for that ultra-clean, lifted look. It’s the little things.